Overmolding and Insert Molding: Differences, Design Rules, and Real Applications
Soft-touch tool handles, toothbrush grips, sealed electrical connectors, threaded metal inserts in plastic housings — all of these are made by combining two materials in a single part. The two processes behind them, overmolding and insert molding, are often confused. This guide explains how each overmolding process works, when to choose one over the other, and the design rules that decide success or failure.
What Is Insert Molding?
Insert molding places a pre-formed component — usually a metal insert like a brass thread, pin, or bushing — into the mold cavity. Molten plastic is then injected around it, locking the insert in place permanently.
Typical uses for insert molding:
- Threaded brass inserts in plastic enclosures (far stronger than molded or tapped threads)
- Electrical pins and terminals molded into connectors
- Metal shafts molded into plastic gears and knobs
The insert is loaded by hand for low volumes, or by robot for high volumes. Cycle time is dominated by insert placement, which is why automation pays off quickly above roughly 10,000 parts.
What Is Overmolding?
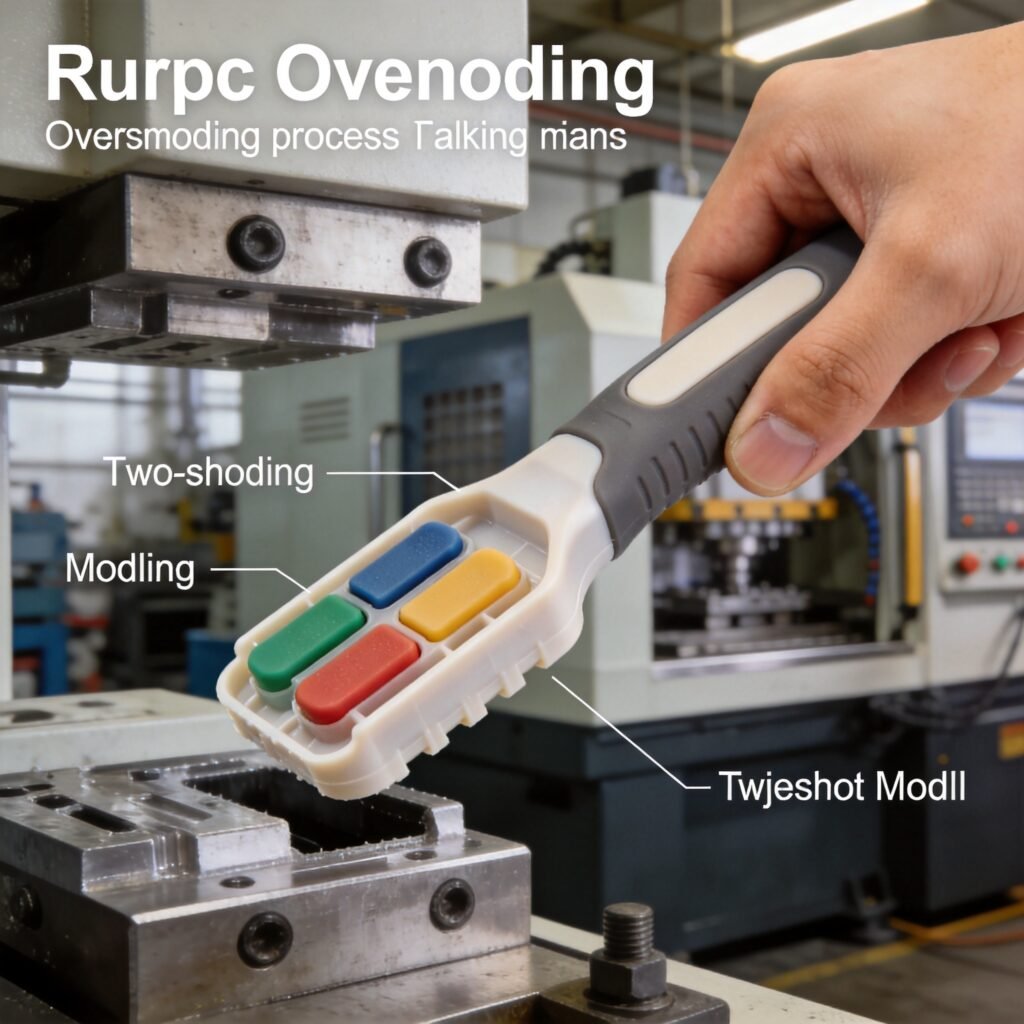
Overmolding injects one material over a previously molded part (the substrate). Two ways to do it:
- Two-shot molding (2K molding): A single machine with two injection units. The substrate is molded in cavity one, the mold rotates or the core shifts, and the second material is injected in cavity two — all in one cycle. Fast, consistent, but the mold is expensive (typically 1.5–2× a standard tool) and only economical above ~50,000 parts.
- Pick-and-place overmolding: The substrate is molded in a first tool, cooled, then manually or robotically placed into a second tool where the overmold is injected. Cheaper tooling, slower cycle, ideal for 1,000–50,000 parts.
For most projects we quote, pick-and-place overmolding is the practical starting point. Two-shot becomes attractive only when volumes justify the tooling premium.
Material Bonding: The Question That Decides Everything
An overmolded part fails in one of two ways: the overmold peels off, or it never sticks at all. Chemical bonding depends on the material pair:
- TPE over PP: excellent bond — the classic soft-grip combination
- TPE over ABS or PC: good bond with the right TPE grade
- TPE over PA (nylon): possible, but requires a nylon-specific TPE
- TPU over PC: good; common for phone cases and wearables
- Silicone over plastic: poor chemical bond — design mechanical interlocks instead
Where the chemistry does not cooperate, mechanical interlocks save the design: holes, slots, undercuts, and knurling in the substrate give the overmold something to physically lock onto.
Design Rules That Prevent Failures
- Shut-off design: the substrate must seal against the second mold half. Plan 0.03–0.05 mm compression on the shut-off surfaces, or you will get flash.
- Overmold wall thickness: keep TPE layers between 1.5 and 3 mm. Thinner tears, thicker sinks and cycles slowly.
- Substrate thickness: the rigid substrate needs enough stiffness (usually 2 mm minimum) to resist the second injection pressure without deflecting.
- Avoid thin TPE edges: taper the overmold to a feather edge and it will peel. End the TPE in a groove or step instead.
- Insert tolerances: metal inserts must locate positively in the tool. A floating insert shifts under injection pressure and ends up off-center.
Which Process for Your Part?
As a rule of thumb: metal inside plastic = insert molding. Soft material over hard plastic = overmolding. Low volume with either = pick-and-place. High volume with two plastics = evaluate two-shot molding seriously.
Send us your part drawing and target volume — we will tell you honestly which process fits, what the tooling will cost, and whether the material pair you have in mind will actually bond. Get a free process review.